Dante On-Ramp: A CONNECT SERIES Walkthrough Guide:
With the ease, reliability, and cost-savings of Audinate’s Dante technology, it’s no wonder that Dante networking continues to define the standard for AV installers across the globe. We knew this when we designed our CONNECTSERIES amplifiers, which is why we created a completely separate family of Dante-enabled models. But we also wanted our products to push the boundaries and give integrators/installers a tool that can truly benefit their systems and processes. So, we created our Dante On-Ramp feature.
With Dante On-Ramp, all the analog input signals that are sent into the amplifier, go into the input matrix which is configurable through our Cloud or Web UI, and the signals are also automatically sent to the transmitter channels on the Dante Broadway module that is built into our Dante CONNECTSERIES amplifiers. This allows users to take any analog input, and route it via Dante to share with other Dante-enabled devices.
The process for utilizing our Dante On-Ramp feature is super simple. Below, we’ve outlines everything you’ll need to know to start taking advantage of this great feature right away.
Dante On-Ramp: Sharing Analog Inputs to a Second Dante CONNECTSERIES Amplifier Walkthrough Guide
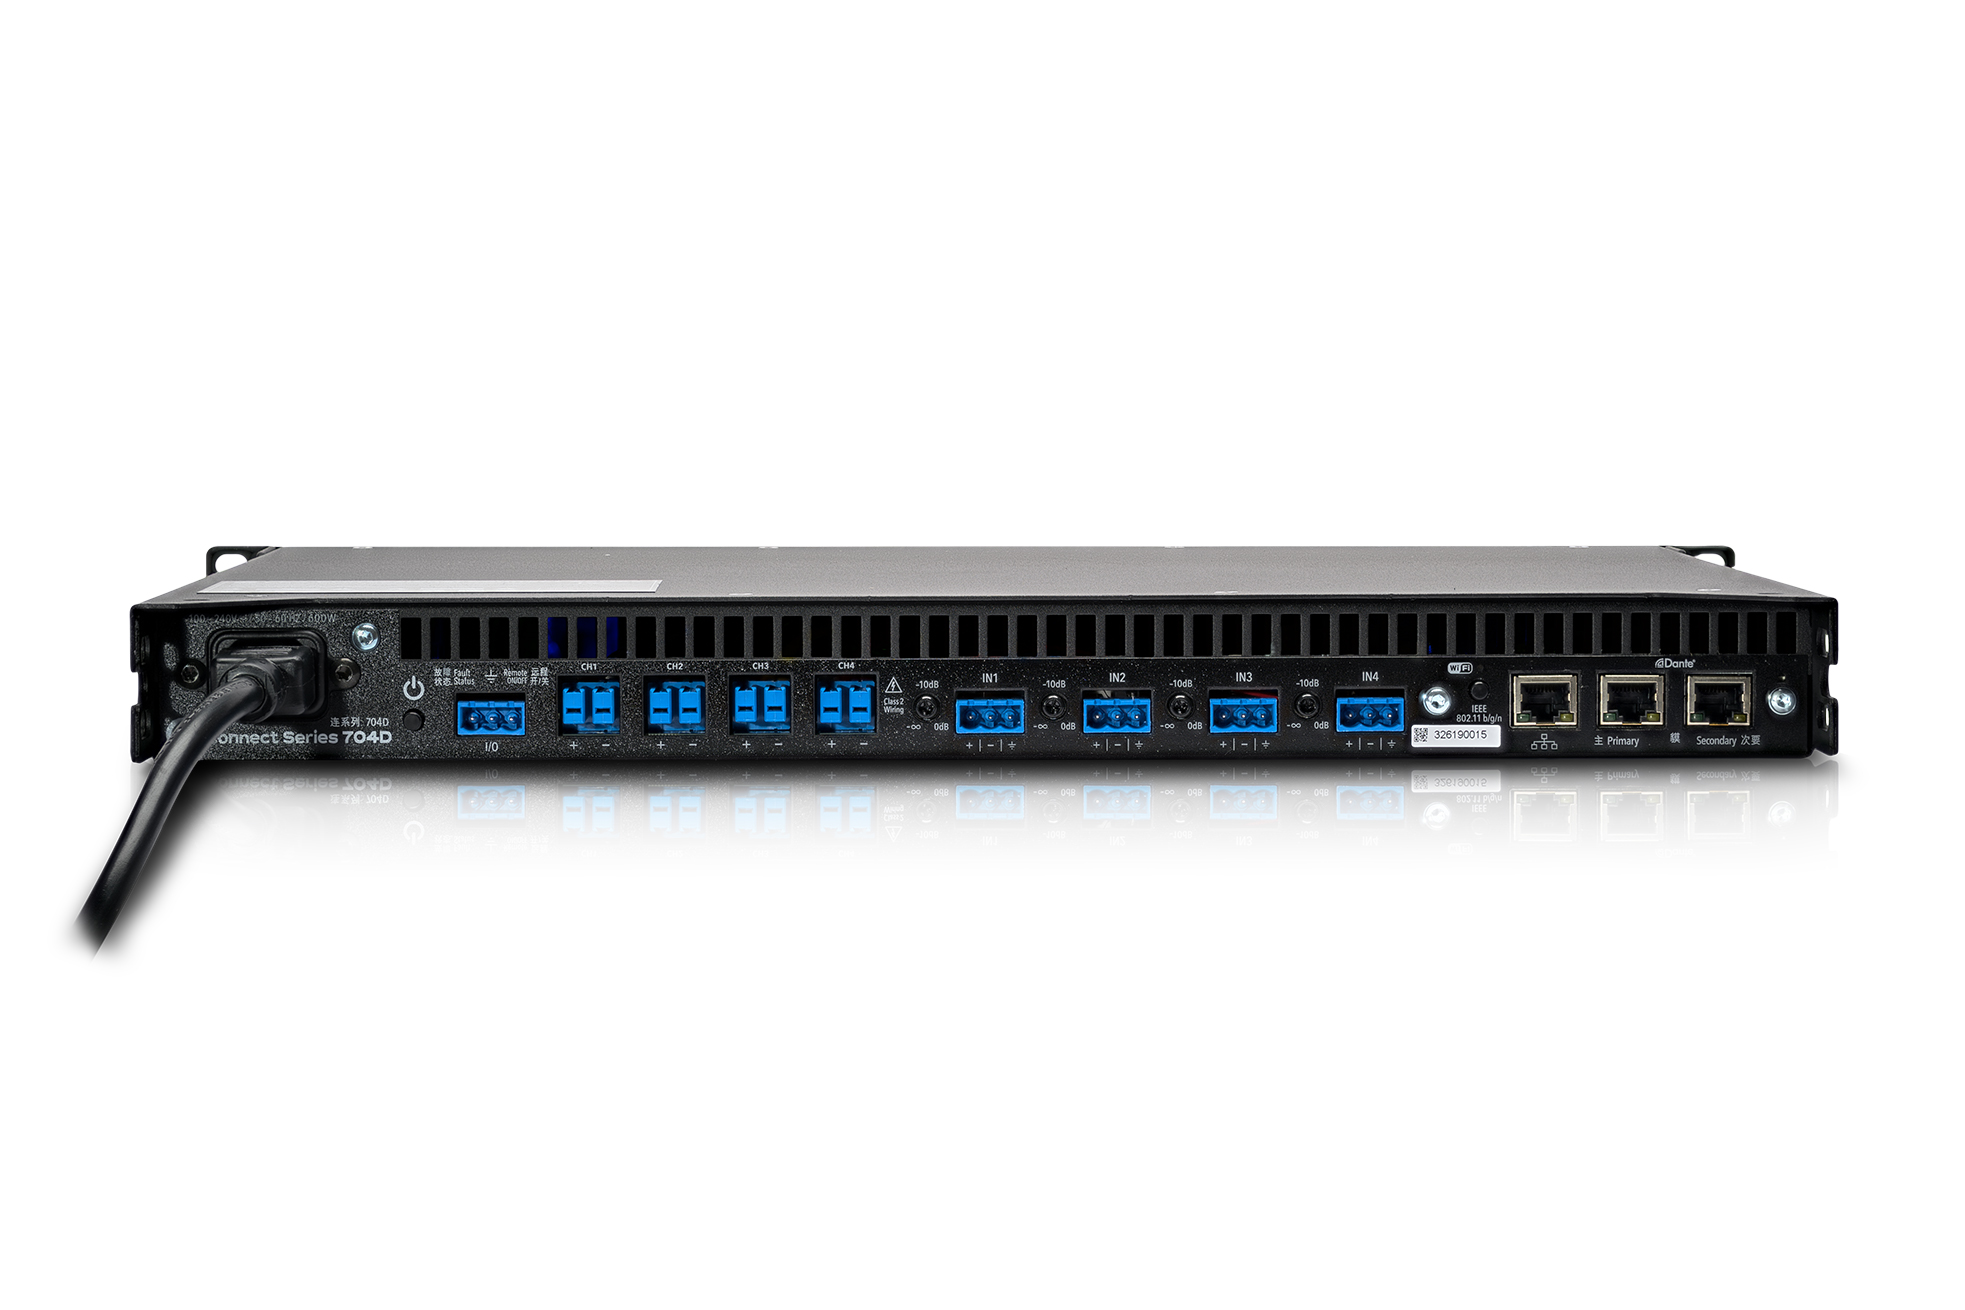
Connect your input source to any analog input on a Dante CONNECTSERIES amplifier.
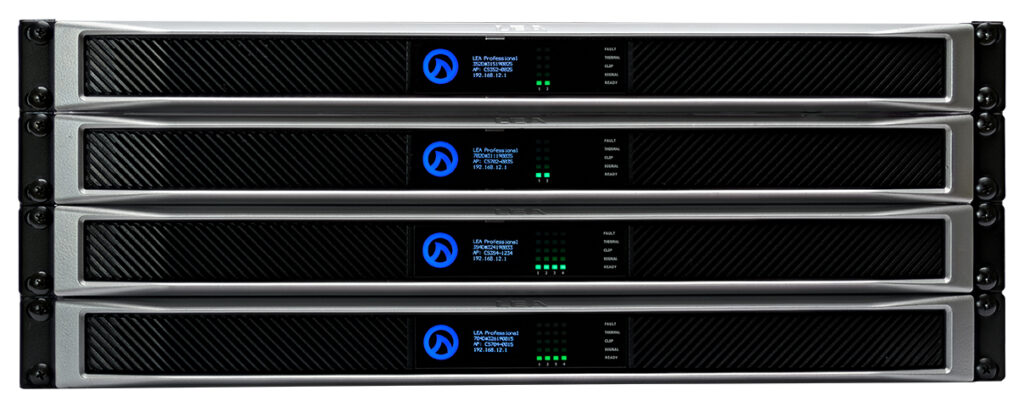
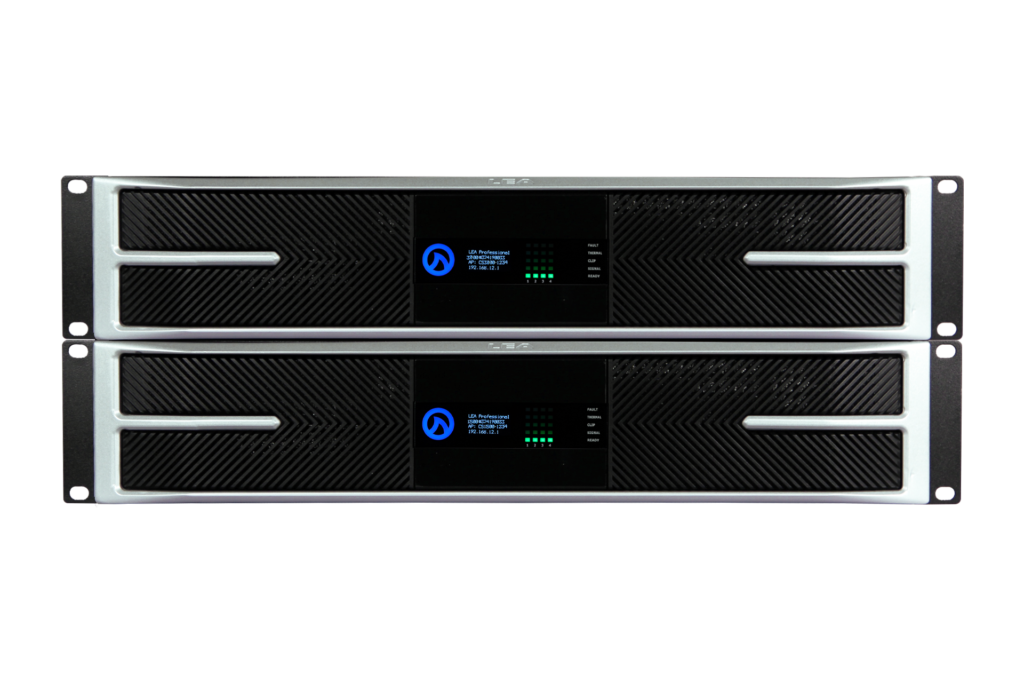
Using network cables, connect the Control and Dante Primary Ethernet ports on the back of both Dante CONNECTSERIES amplifiers to the network switch. This will allow for control/monitoring and Dante Audio and Configuration to take place on the same network.
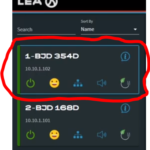
Locate the amplifier with the analog inputs on it and also locate the second amplifier that needs the signals sent to it. Analog inputs automatically get routed to the corresponding Dante Transmitter channel ie. Analog Input 1 goes to Dante Transmitter channel 1, Analog Input 2 goes to Dante Transmitter channel 2, and so on…
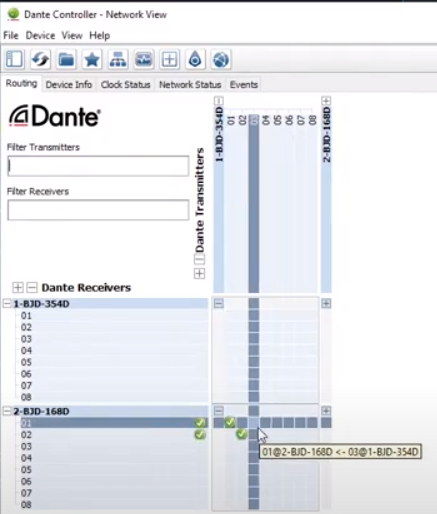
Make the appropriate routes from the transmitter channels of the amp with the analog signals on it, to the receiver channels on the second amplifier.
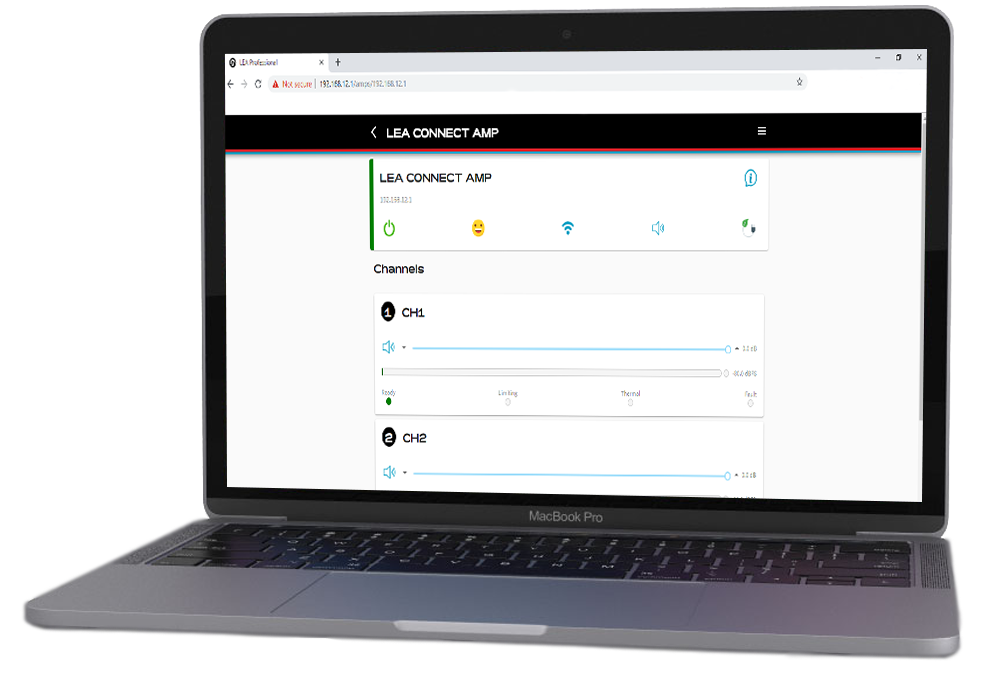
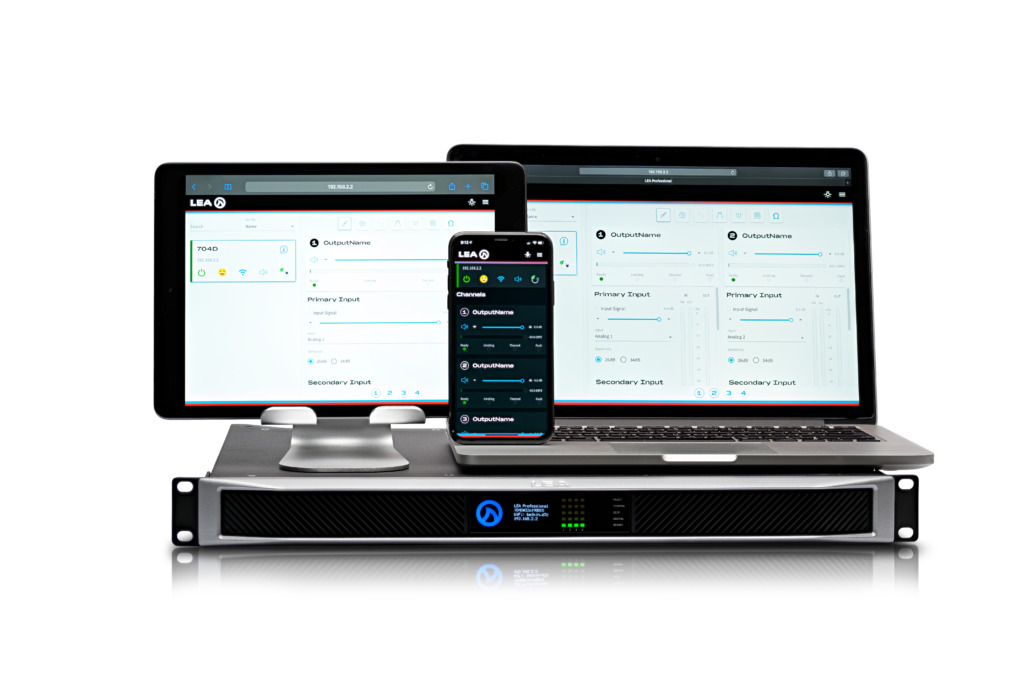
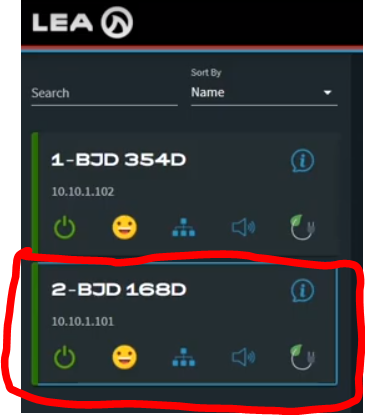
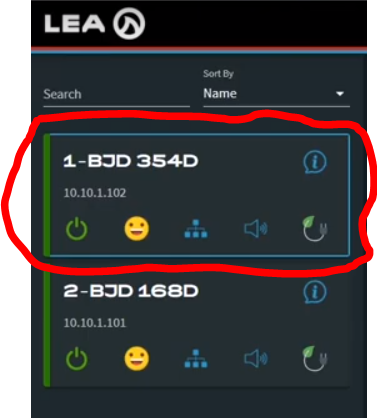
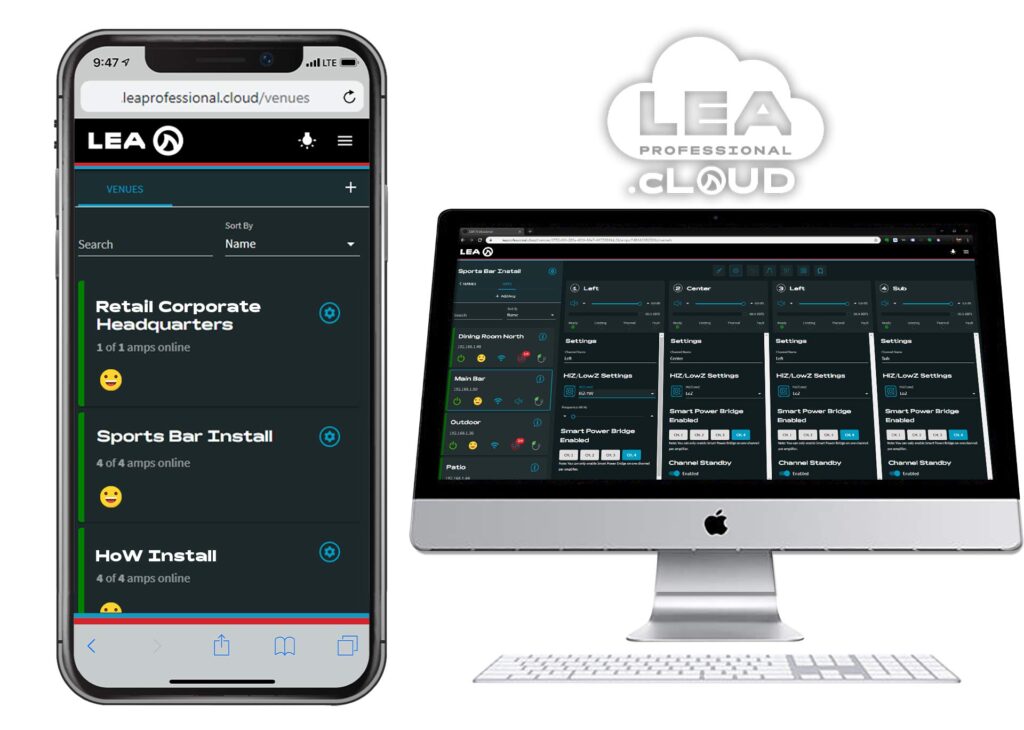
Navigate back to your Web UI or Cloud control interface and select the second Dante amplifier that signals have just been routed to in Dante Controller.
On the input section, navigate to the Input Matrix and change your inputs to the Dante Channels that were defined within Dante Controller. Now you are sharing your original analog signal from one amplifier to another using the Dante On-Ramp.
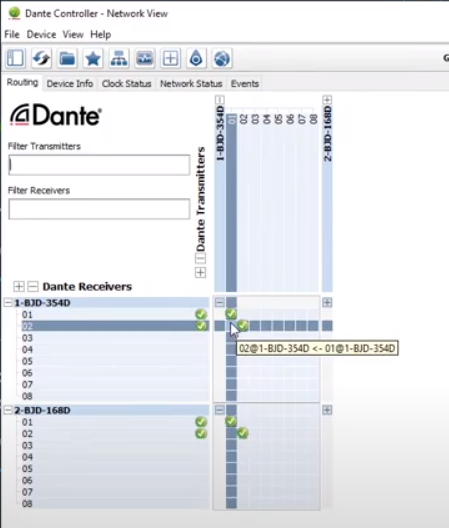
At this point, there may be some latency issues with both amplifiers as the signals pick up latency when converted to Dante. This can be corrected so the signals on both amplifiers are in time sync. To resolve this, you’ll need to go back into Dante Controller and route the transmitter channels from your first amplifier (the one that is receiving the analog signals directly from the source input) into the receiver channels of that same amplifier.
Go back to your Web UI or Cloud control interface and navigate to your first amp (the one connected to the analog input source).
Navigate to the Input Matrix and change the inputs to the Dante inputs that you have defined in the Dante Controller software.
Repeat this process to share your analog signal with other Dante-enabled products.
Now your analog signal has been routed into the Dante Controller software and is playing back as a Dante signal through all of your shared units.
If you have any questions about the CONNECTSERIES Dante On-Ramp, or how it can benefit pro audio systems, please leave a comment below or reach out to us on our social media channels.
This website uses cookies to improve your experience. We'll assume you're ok with this, but you can opt-out if you wish.AcceptRejectRead More
Privacy & Cookies Policy
Privacy Overview
This website uses cookies to improve your experience while you navigate through the website. Out of these, the cookies that are categorized as necessary are stored on your browser as they are essential for the working of basic functionalities of the website. We also use third-party cookies that help us analyze and understand how you use this website. These cookies will be stored in your browser only with your consent. You also have the option to opt-out of these cookies. But opting out of some of these cookies may affect your browsing experience.
Necessary cookies are absolutely essential for the website to function properly. This category only includes cookies that ensures basic functionalities and security features of the website. These cookies do not store any personal information.
Any cookies that may not be particularly necessary for the website to function and is used specifically to collect user personal data via analytics, ads, other embedded contents are termed as non-necessary cookies. It is mandatory to procure user consent prior to running these cookies on your website.