Want professional audio amplifiers to produce less errors, less faults and just last longer overall? There are several simple maintenance tasks, that when performed regularly, can keep your units running for the long haul.
Perhaps one the of the easiest things you can do is clean your air filters.
Air Filters in Amplifiers
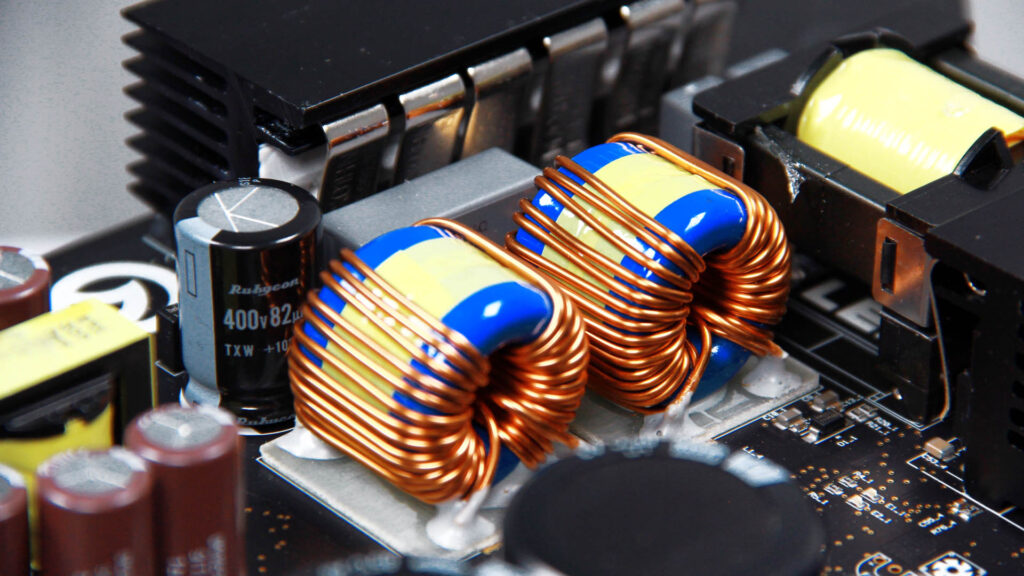
Pro audio amplifiers pack so much power into compact metal boxes, that they constantly produce heat. The power is great, but the extra heat can cause some major problems for the components inside your unit. Without a solution, this could lead to system errors, system faults and eventually, your units could shut down completely.
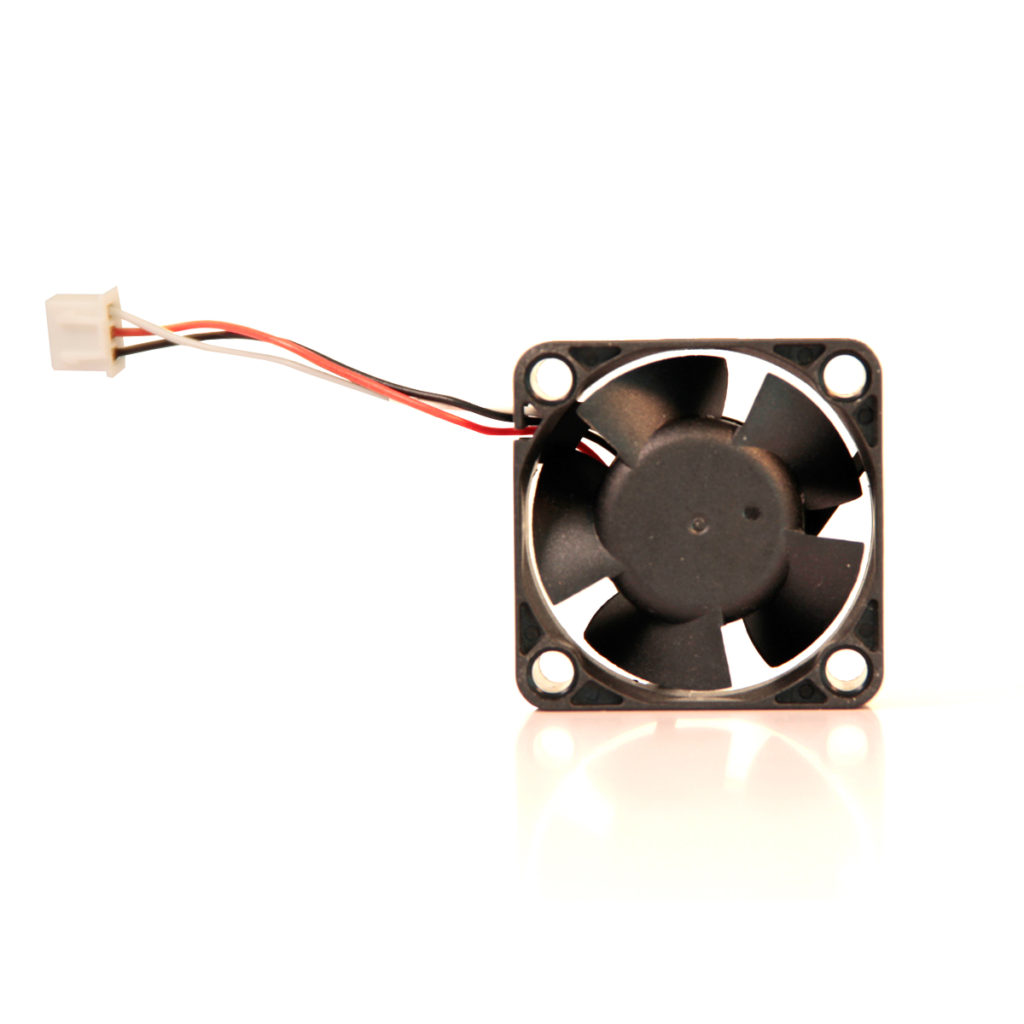
To overcome heat issues, most amp manufacturers put small fans inside the unit to draw air in and help keep the internal components cool. But with the air comes another potentially hazard – dust. Just like excessive heat, too much dust buildup inside your amplifier can cause components, and potentially your entire system, to fail.
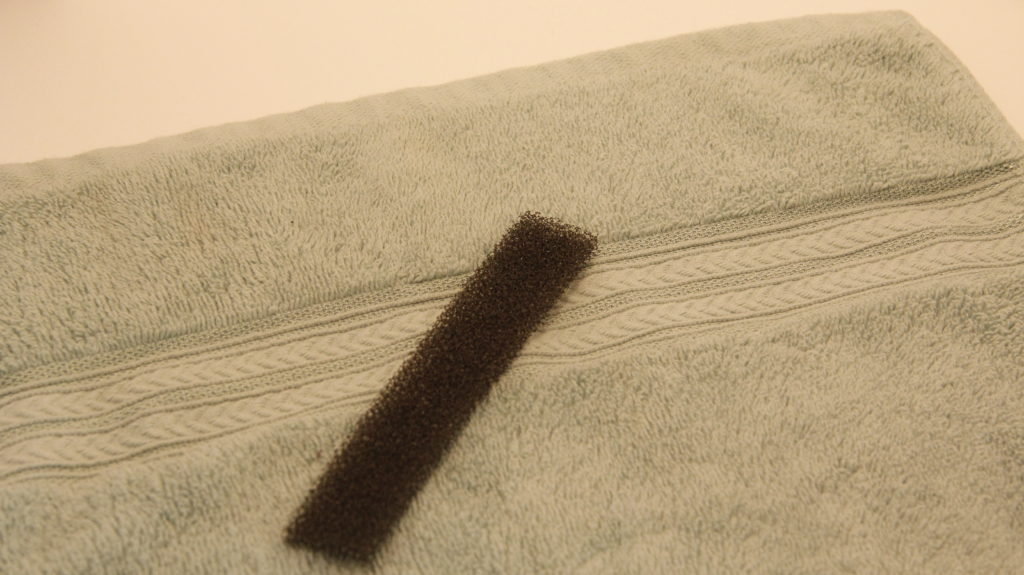
That’s why it is common to find air filters located inside of professional audio amplifiers. These filters act like a barrier to catch dust before it enters the important parts of your amplifier. That way the fans can keep cooling and your amps will last longer.
But eventually, too much dust will build up on your amplifier’s air filter and reduce air flow, ultimately causing the unit to run hotter and potentially stop working.
So, it’s important to perform regular maintenance on your amps to remove dust buildup and maintain air flow. This requires you to remove the unit’s air filters and clean them off (or in severe cases, replace them completely).
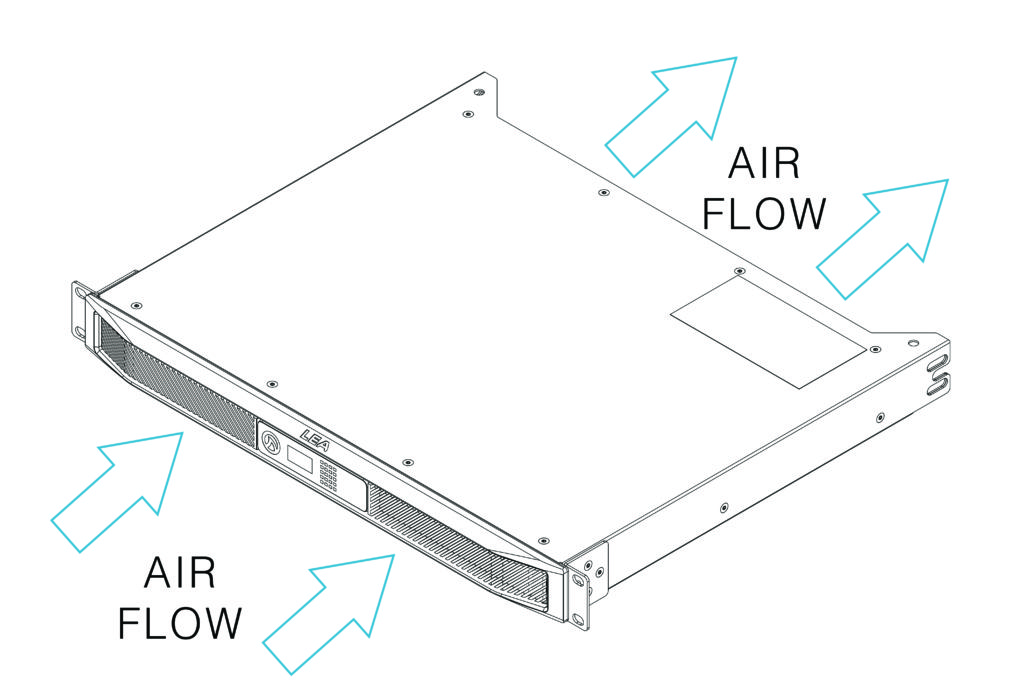
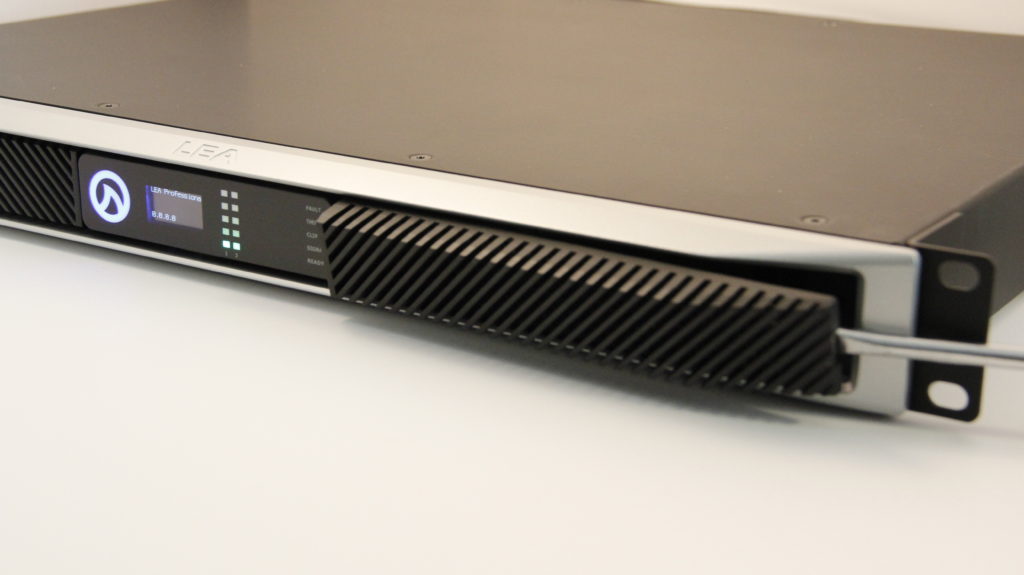
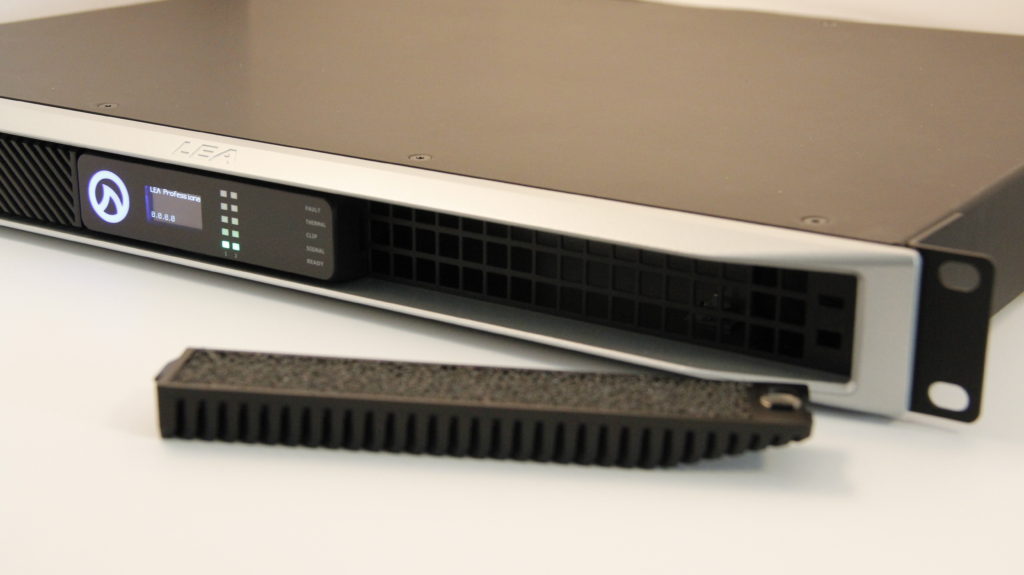
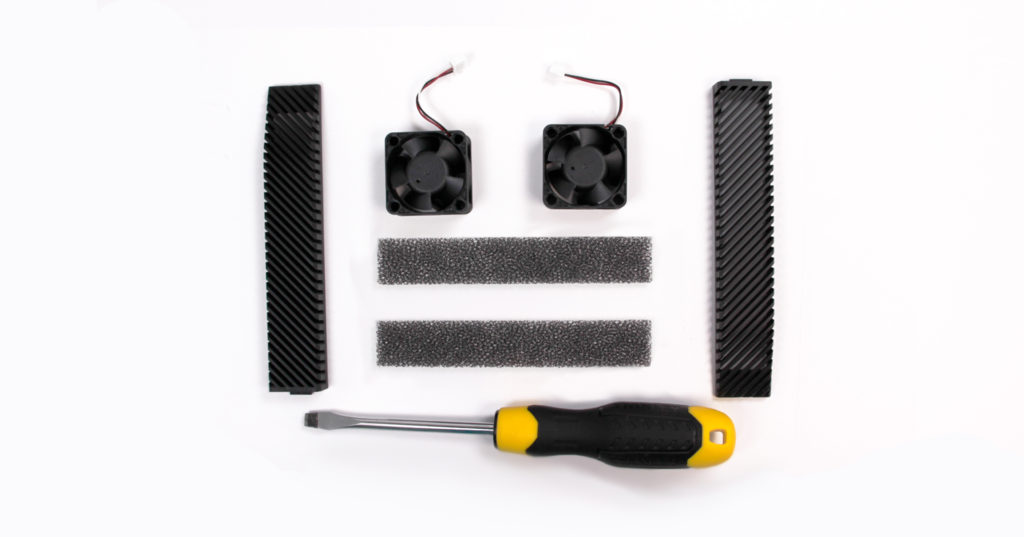
Air flows through our Connect Series from the front of the unit, to the back. As a result, we placed two foam air filters at the very front of each unit, located behind the two front grilles. Simply use a flat object such as a flathead screwdriver, carefully insert it under the edge of the front grille and pop the grille off.
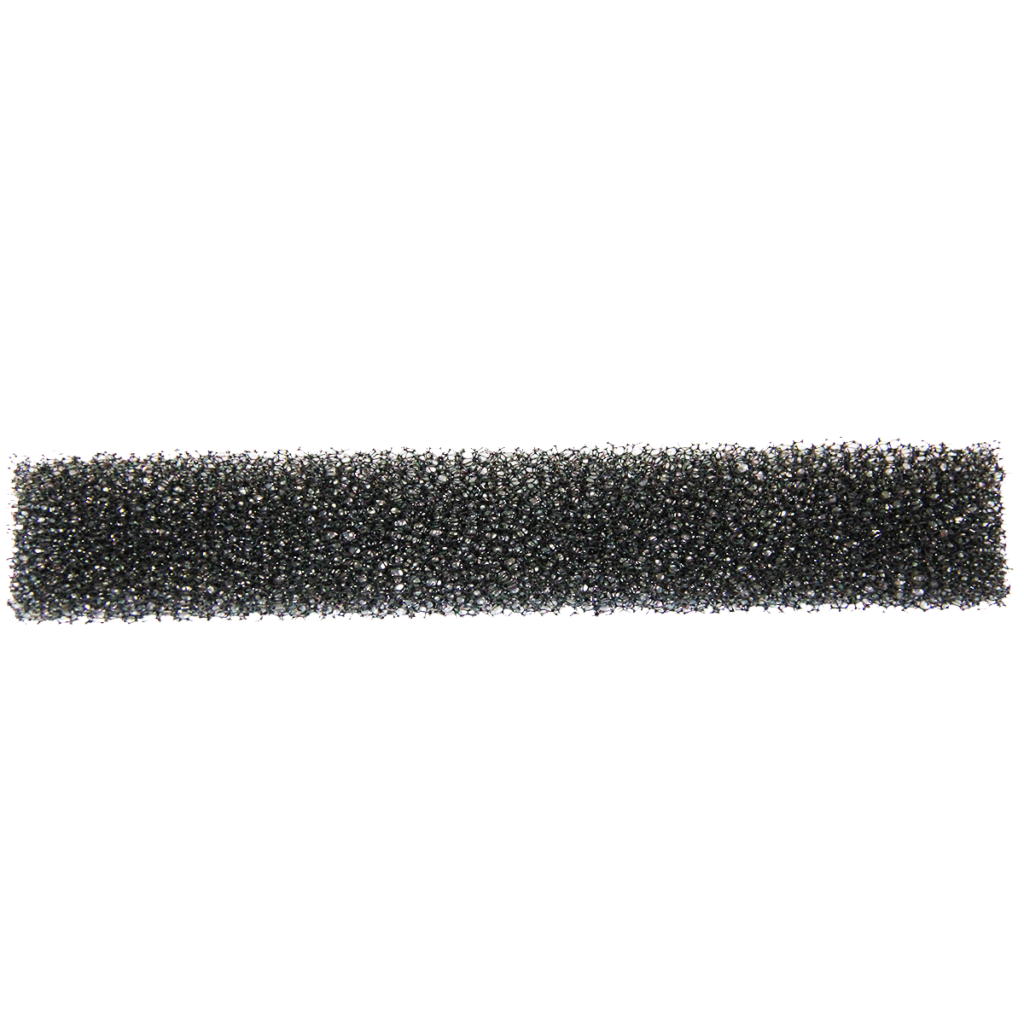
Step 2: Remove air filters
Once both grilles are removed, simply pull out the foam air filters.
Step 3: Wash air filters
Run the air filters under water and gently massage off all dust. You can also use compressed air before running under water to help remove loose dust.
Step 4: Dry air filters
Let the air filters dry completely before replacing them in the front of the unit.
Step 5: Replace air filters
Put the filter back into the grilles and replace the grilles to the front of the amplifier.
There you have it. Removing, cleaning and replacing air filters is a cinch with our Connect Series. Be sure to inspect the air filters in your units, and have them cleaned if necessary, at least once every six months to ensure proper amp operation.
**NOTE**
If you need new air filters for your Connect Series amplifiers, they can be easily purchased from the LEA Sales Portal.
If you have any question or feedback about air filter maintenance or using our CONNECTSERIES amps in your install projects, feel free to fill out the form below or reach out to us on our social media channels.
Want more LEA content delivered directly to your inbox? Enter your email address below to be subscribed to our monthly newsletter and keep up with all of the latest news and content from LEA Professional.
This website uses cookies to improve your experience. We'll assume you're ok with this, but you can opt-out if you wish.AcceptRejectRead More
Privacy & Cookies Policy
Privacy Overview
This website uses cookies to improve your experience while you navigate through the website. Out of these, the cookies that are categorized as necessary are stored on your browser as they are essential for the working of basic functionalities of the website. We also use third-party cookies that help us analyze and understand how you use this website. These cookies will be stored in your browser only with your consent. You also have the option to opt-out of these cookies. But opting out of some of these cookies may affect your browsing experience.
Necessary cookies are absolutely essential for the website to function properly. This category only includes cookies that ensures basic functionalities and security features of the website. These cookies do not store any personal information.
Any cookies that may not be particularly necessary for the website to function and is used specifically to collect user personal data via analytics, ads, other embedded contents are termed as non-necessary cookies. It is mandatory to procure user consent prior to running these cookies on your website.