AV Rack Hack: Locate Your Amplifier in a Crowded Rack
When you love audio and audio gear as much as we do, there is nothing like walking into the rack room of a massive install. For instance, walls completely covered with AV racks, the glow of LEDs, and bundles of neatly wrapped (hopefully!) network cable running to and from the gear. It’s an AV wonderland! Although, it could also be an AV nightmare. Especially if you’re walking into an unfamiliar rack room to troubleshoot an amplifier issue. As a result of so many amps racked from wall to wall, it can be a daunting chore trying to identify a trouble unit(s) and rectify an issue.
For this reason, we wanted to design a simple solution to help installers and integrators quickly, and painlessly locate any amp within the system.
Here’s how it’s done:
AV Rack Hack: Locate Your Amplifier in a Crowded Rack
Step 1 - Access our Web App UI
First, look at any amplifier connected to the network that you are troubleshooting. Once you have found one amp, find the IP address on the front panel of that unit. Then, type that IP address into the web browser of any device with an internet connection.
As a result, this will bring you into our Web UI. In essence, you now have visibility and control over every amplifier connected to the same network of the amp that you entered.
**Note**
The network may be password protected. If so, you will need to enter a password to login to our Web UI. On the other hand, you can login as a guest without a password. However, you will be unable to make any changes or use the amp locator tool.
For a more detailed guide on connecting to and using our Web UI, CLICK HERE.
Step 2 - Find Your Unit in the Web App UI
Once logged into the Web App UI, you will see a list of all available amps on the network. Additionally, you will see a quick status of each unit. Thus, if you scroll the list, you can quickly locate which unit is displaying an error or a fault. In the event that an amp has an error event, a frowning emoji face is present. Furthermore, amps with faults with show a distressed emoji face.
Under those circumstances, tap the on the unit that you are searching for. Now, you will see an overview of the amp’s individual channels and a quick glance at the channel status’.

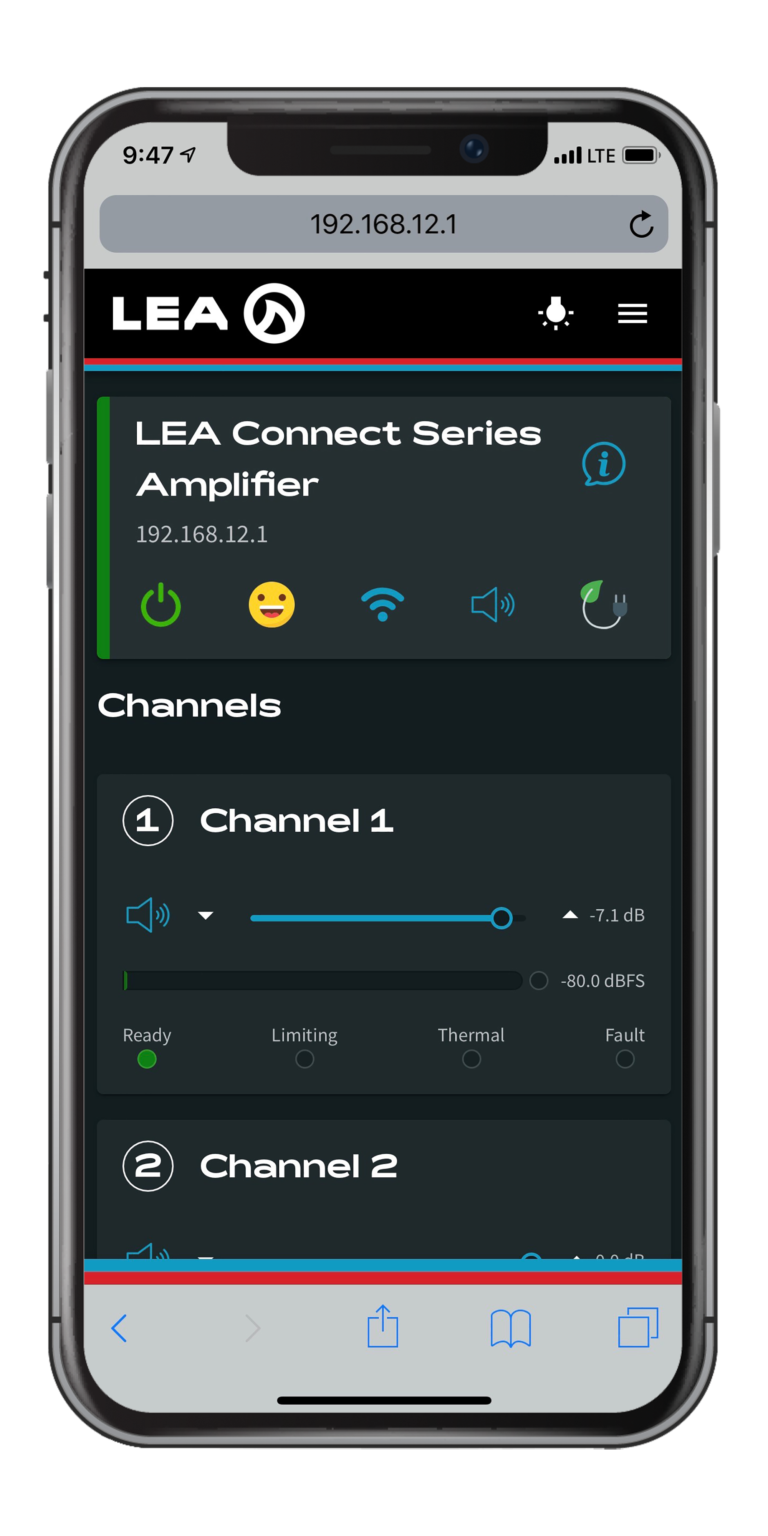
Amp State 1 - Normal Operation
The amplifier is not reporting any errors or faults and everything is OK.

Amp State 2 - Event
The amplifier is reporting an error but no fault.

Amp State 3 - Fault
The amplifier is reporting a fault.
Step 3 - Locate Your Unit in the AV Rack
From this point, simply click the “i” information icon at the top right corner of the amplifier name to access the addition amplifier information. The, tap the second option labeled “Amp Settings”.
As a result, the very first option on this page is the “Locator” with a button that says “Find Me!”. Again, tap that button.
Provided that, the Find Me button has been pressed, go to your AV rack. At this instant, the shark fin logo on the front panel of the amplifier you are looking for will be blinking to show you where it is.
Now you’ve found your amp!
If you have any questions or feedback about locating your amp in a crowded AV rack, please leave a comment below or reach out to us on our social media channels.
Related Content
Want more LEA content delivered directly to your inbox? Enter your email address below to be subscribed to our monthly newsletter and keep up with all of the latest news and content from LEA Professional.


